ElasticSearch 设置用户名密码
Elasticsearch 从 6.8 开始, 允许免费用户使用 X-Pack 的安全功能, 以前安装 es 都是裸奔。接下来记录配置安全认证的方法。
设置密码步骤
开启 x-pack 验证
需要在配置文件中开启 x-pack 验证,修改 config 。
一般是在 /usr/share/elasticsearch 目录下面的 elasticsearch.yml 文件。
在里面添加如下内容,并重启:
xpack.security.enabled: true
xpack.license.self_generated.type: basic
xpack.security.transport.ssl.enabled: true
设置密码
执行设置用户名和密码的命令,这里需要为 4 个用户分别设置密码,elastic, kibana, logstash_system,beats_system
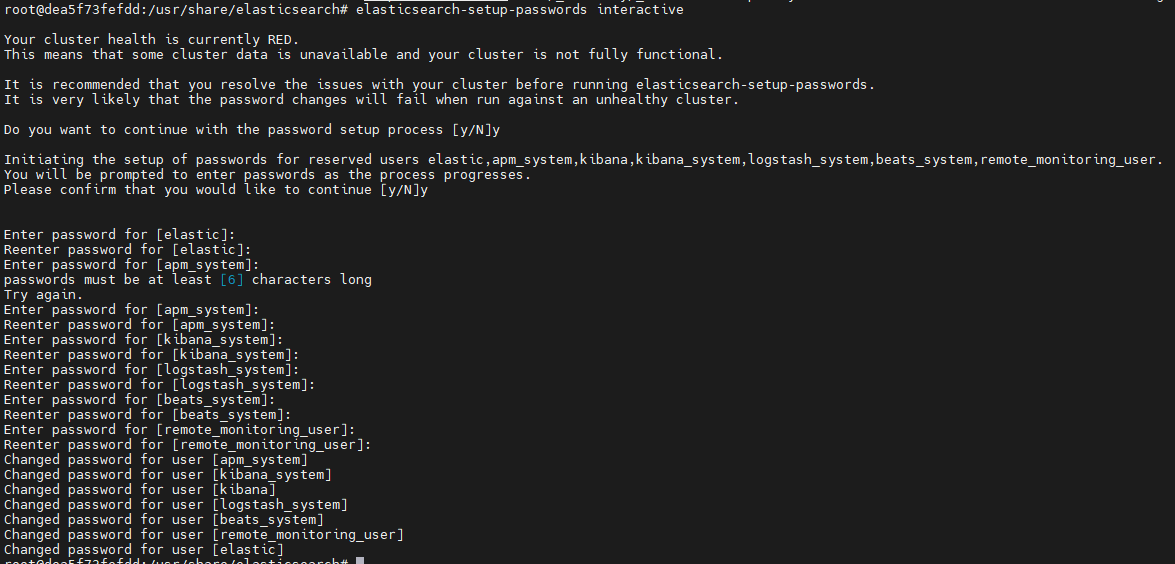
bin/elasticsearch-setup-passwords interactive结果如下:
Initiating the setup of passwords for reserved users elastic,kibana,logstash_system,beats_system.
You will be prompted to enter passwords as the process progresses.
Please confirm that you would like to continue [y/N]y
Enter password for [elastic]:
passwords must be at least [6] characters long
Try again.
Enter password for [elastic]:
Reenter password for [elastic]:
Passwords do not match.
Try again.
Enter password for [elastic]:
Reenter password for [elastic]:
Enter password for [kibana]:
Reenter password for [kibana]:
Enter password for [logstash_system]:
Reenter password for [logstash_system]:
Enter password for [beats_system]:
Reenter password for [beats_system]:
Changed password for user [kibana]
Changed password for user [logstash_system]
Changed password for user [beats_system]
Changed password for user [elastic]
如图所示:

修改密码
修改密码命令如下:
curl -H "Content-Type:application/json" -XPOST -u elastic 'http://127.0.0.1:9200/_xpack/security/user/elastic/_password' -d '{ "password" : "123456" }'忘记密码
进入 es 的机器
docker exec -it elasticsearch /bin/bash创建一个临时的超级用户 RyanMiao 用这个用户去修改 elastic 用户的密码:
curl -XPUT -u ryan:ryan123 http://localhost:9200/_xpack/security/user/elastic/_password -H
"Content-Type: application/json" -d '
{
  "password": "q5f2qNfUJQyvZPIz57MZ"
}'
生成证书
es 提供了生成证书的工具 elasticsearch-certutil,我们可以生成它,然后复制出来,后面统一使用。
生成 ca: elastic-stack-ca.p12
# ./bin/elasticsearch-certutil ca生成 cert: elastic-certificates.p12
# ./bin/elasticsearch-certutil cert --ca elastic-stack-ca.p12相关文章